

How To Draw Feet Front View
How to draw feet
Feet can be a challenging subject to draw. They are strong yet flexible, and perhaps, graceful piece of the human body. There are similarities between how to draw the anatomy of our hands (explored in my previous tutorial) and the anatomy of our feet.
The human foot has evolved from a grasping structure, like our hands, to become a platform that supports the entire weight of our bodies. Early hominids used their feet to climb, grasp branches and to hold tools and food. The hallux (big toe) was semi opposable and could be used similar to our thumb.
When humans began to walk upright, the hallux moved to be more in line with the rest of the foot, providing added support and push when we walk. So, the foot consists of a padded bony heel, a long arched set of metatarsals and flexible toes. It seems a bit daunting to coordinate all of these elements to make a cohesive drawing of a human foot.
I'm working digitally here but the same principles can be used with any drawing medium
However, if we employ the planar view and break our foot into shapes we can begin to approach the drawing from a more easily understandable perspective. In this tutorial, we will take a look inside the foot at the skeletal view for a quick look into the underlying structures.
From there we can begin to draw in simple shapes to help us recognize different groups present in the foot. Then we can begin to flesh out our foot study, using the simple shapes to lay ground for 3D forms. Once we have our forms blocked in, we can start to explore details of the foot such as wrinkles, folds and muscle tone.
We will be focusing on drawing through forms and making sure we pay attention to adding a sense of weight in our study. In making this tutorial, I found that looking at my feet in a mirror and even taking photos helped for reference.
I'm working digitally here but the same principles can be used with any drawing medium. If you're working traditionally, be sure to start out light and gradually build up volume and forms with heavier lead only toward the end of your study.
01. What's Inside?
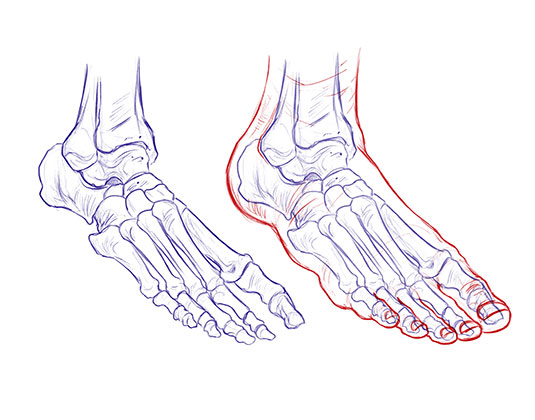
The foot is comprised of bone, tendons, fat and lots of connective tissues. Feet are very strong and while maybe not as flexible as hands, they are capable of a wide range of motion. It can be helpful to take a look at anatomy diagrams of the foot and even do a few quick studies.
Note how the metatarsals flow down the length of the foot and how much of a knob the heel actually is. If we overlay a bit of a surface drawing, we can appreciate where the flesh sits over top the bone. Structures like the heel, metatarsals and joints can be indicated on the surface level if we know where they sit under the skin.
02. Use Gesture to Find a Pose
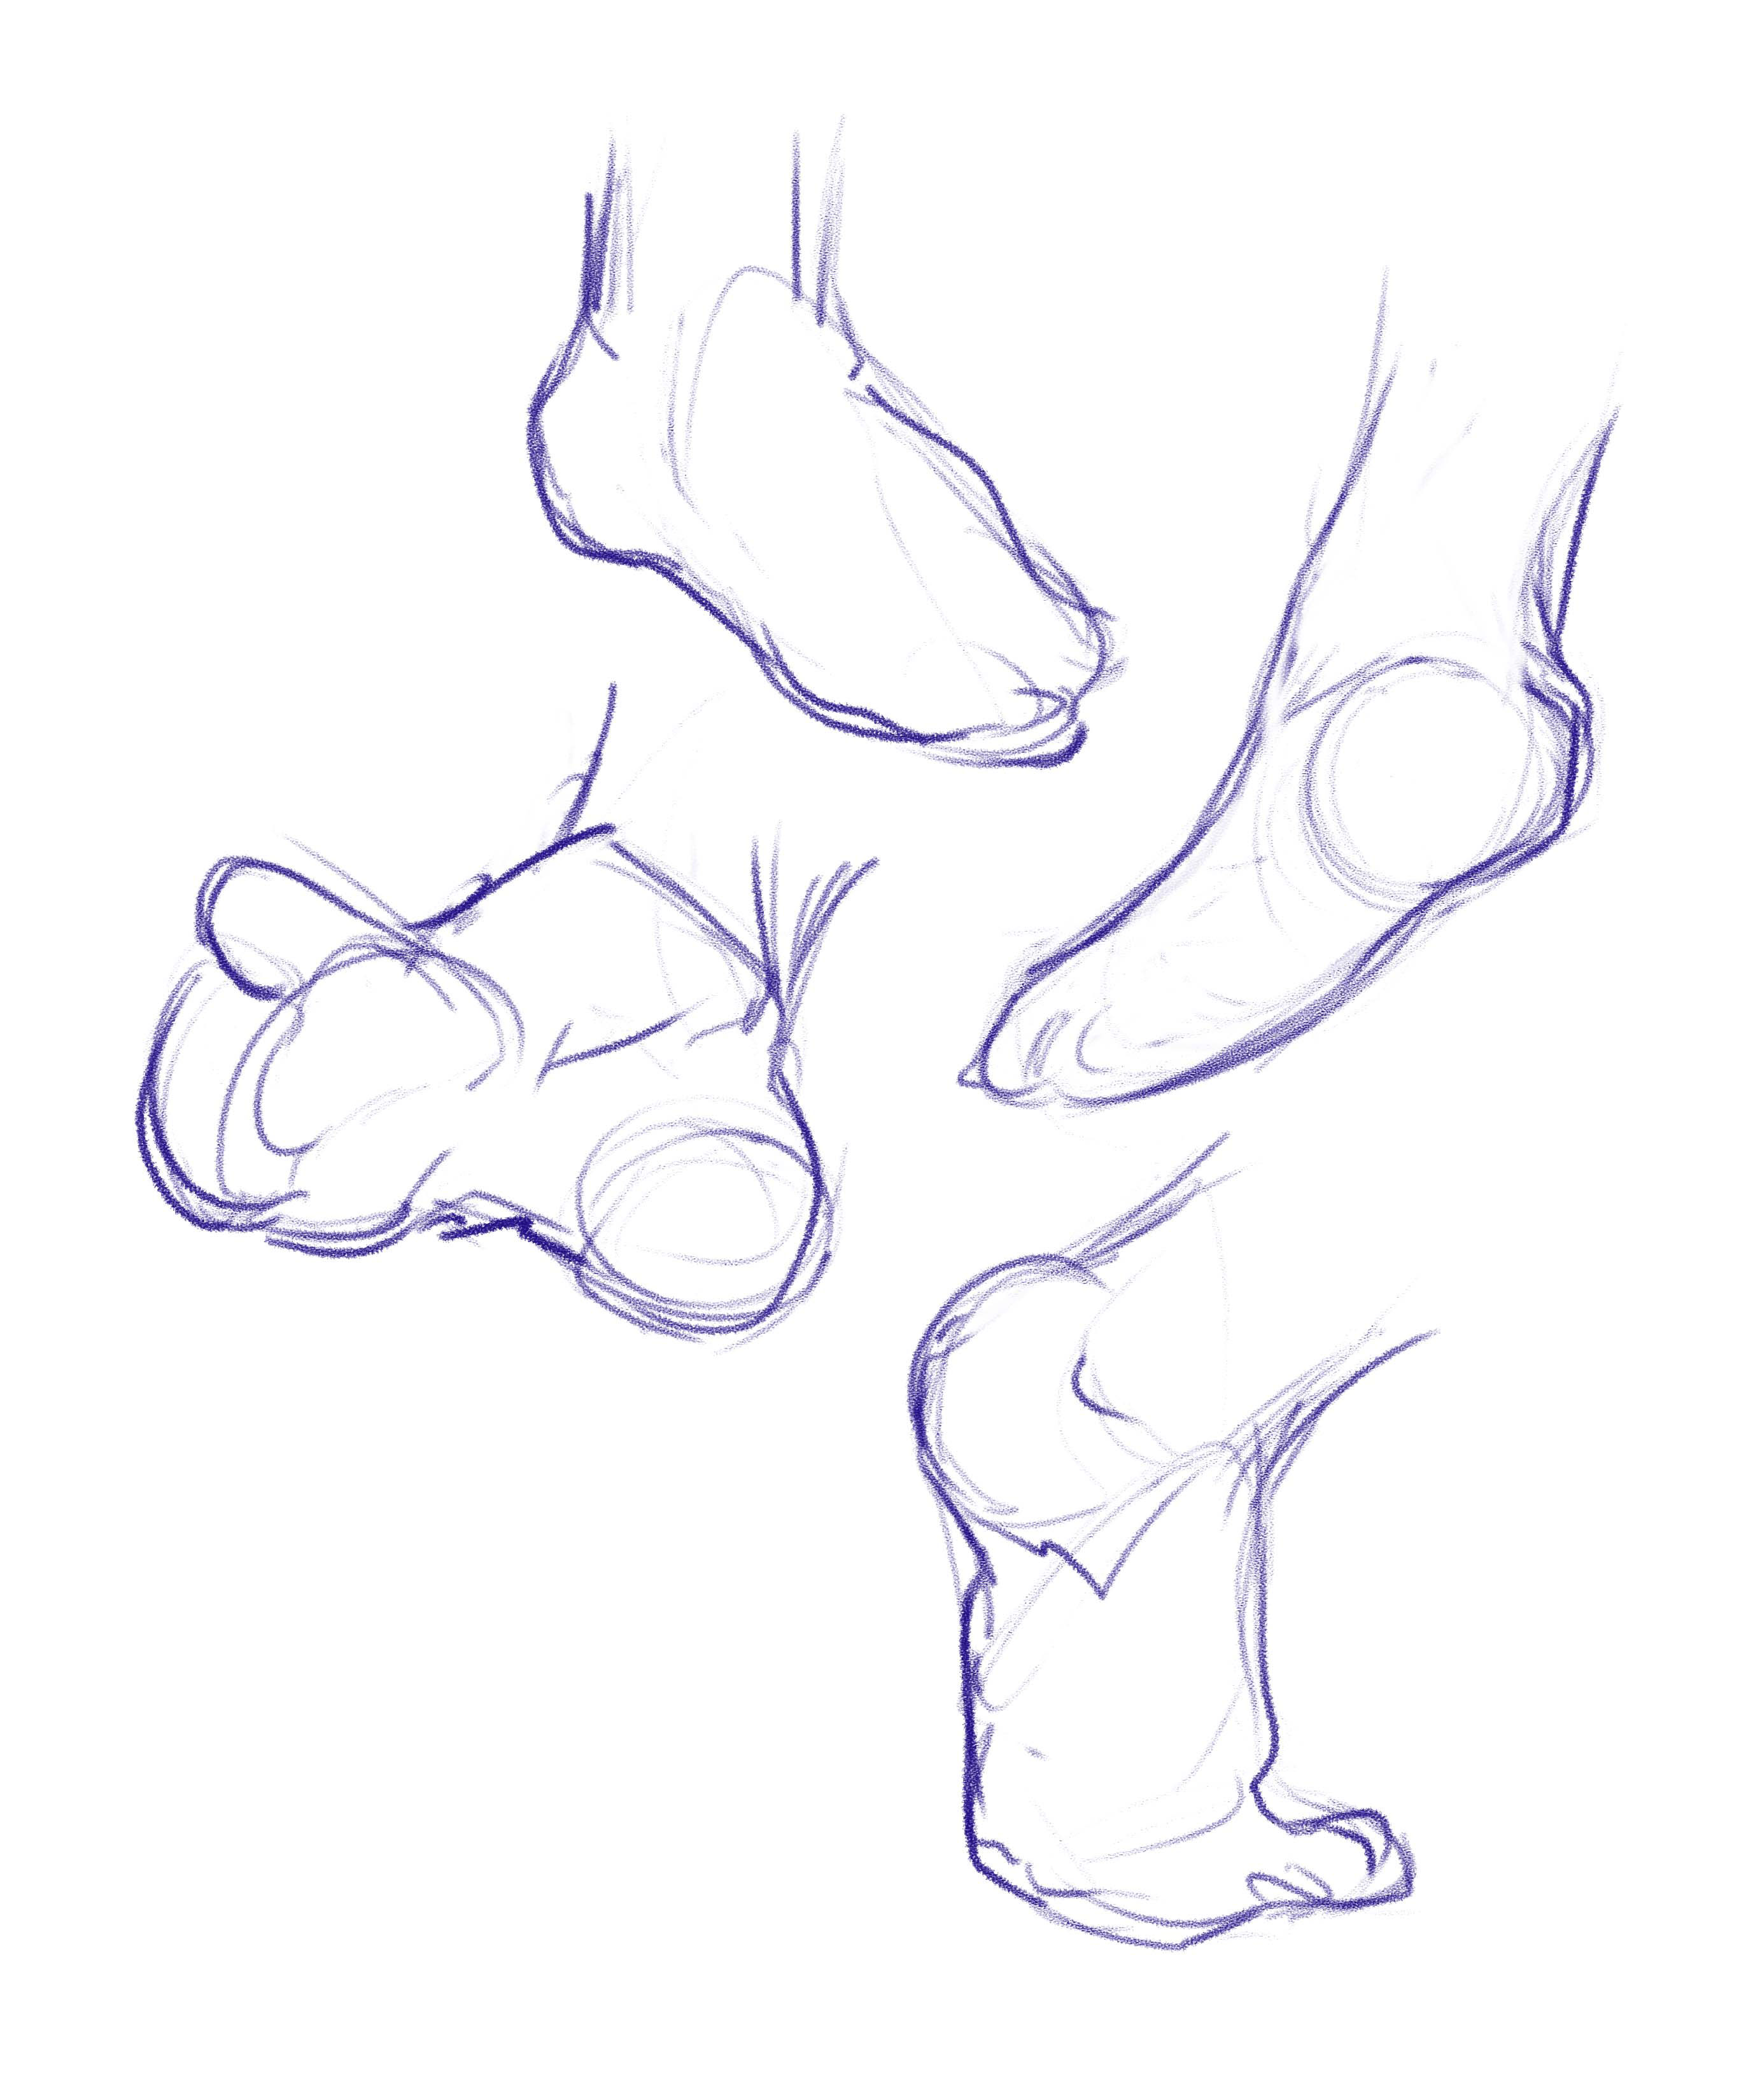
Once you've studied the foot a bit, you can begin to sketch in a gesture to lie out your initial pose. For this step, you don't need to worry about accuracy or anatomy yet. Mostly what I am focusing on at this point is finding a dynamic and interesting pose. I'm using the heel and big toe as landmarks.
Focus on the outline of your foot and steer away from detail at this stage. You can use your own foot as reference to aid in posing ideas. Sometimes it also helps to act out the pose with your own foot to feel how certain bones and muscles might flex and move around.
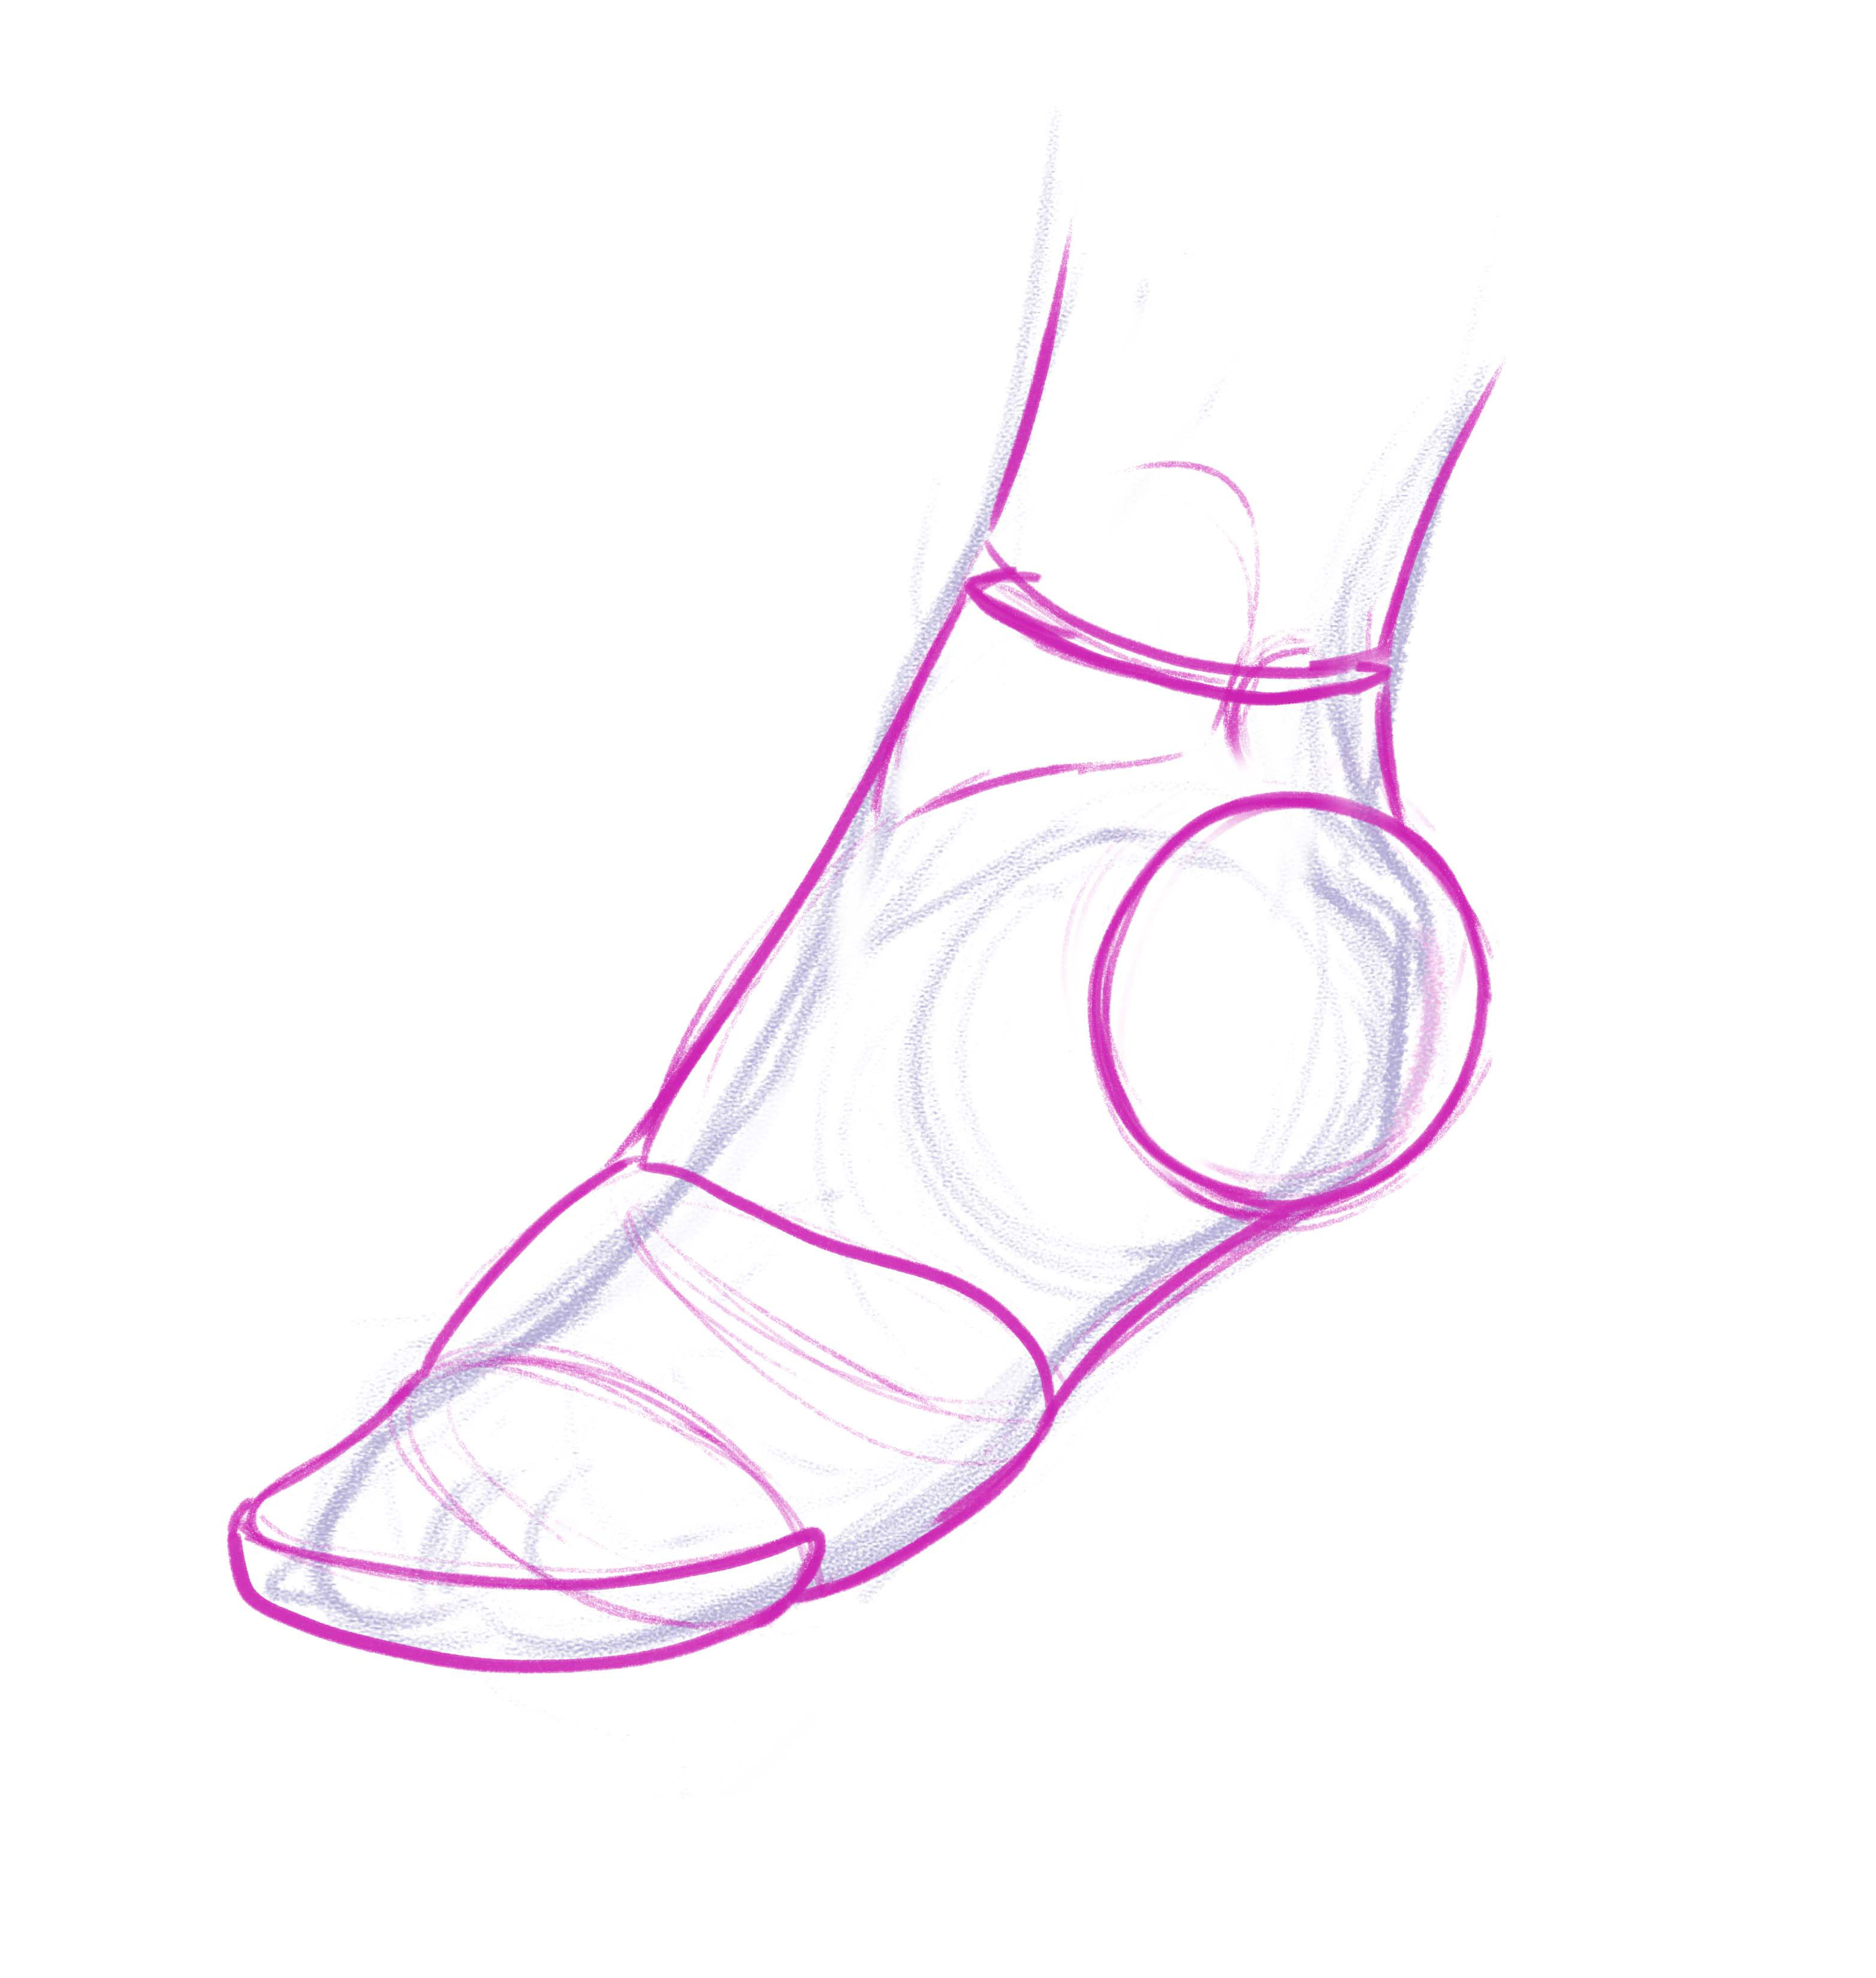
03. Use Shapes to find Forms
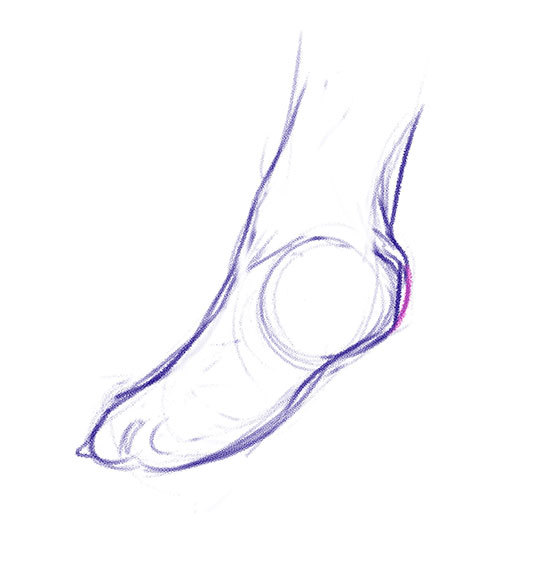
Now that we have a gesture in place, we can begin to block in the shapes and volumes of the foot. The gesture acts as a guide and initial start to get you going. It's important to use shapes to help indicate where forms turn.
Remember, it is always important to draw through forms. It will help keep things in perspective and create a sense of depth in the drawing if we draw around the forms. I indicated where the front of the toes are by adding in a plane that faces forward. You'll see more of this in the next step.
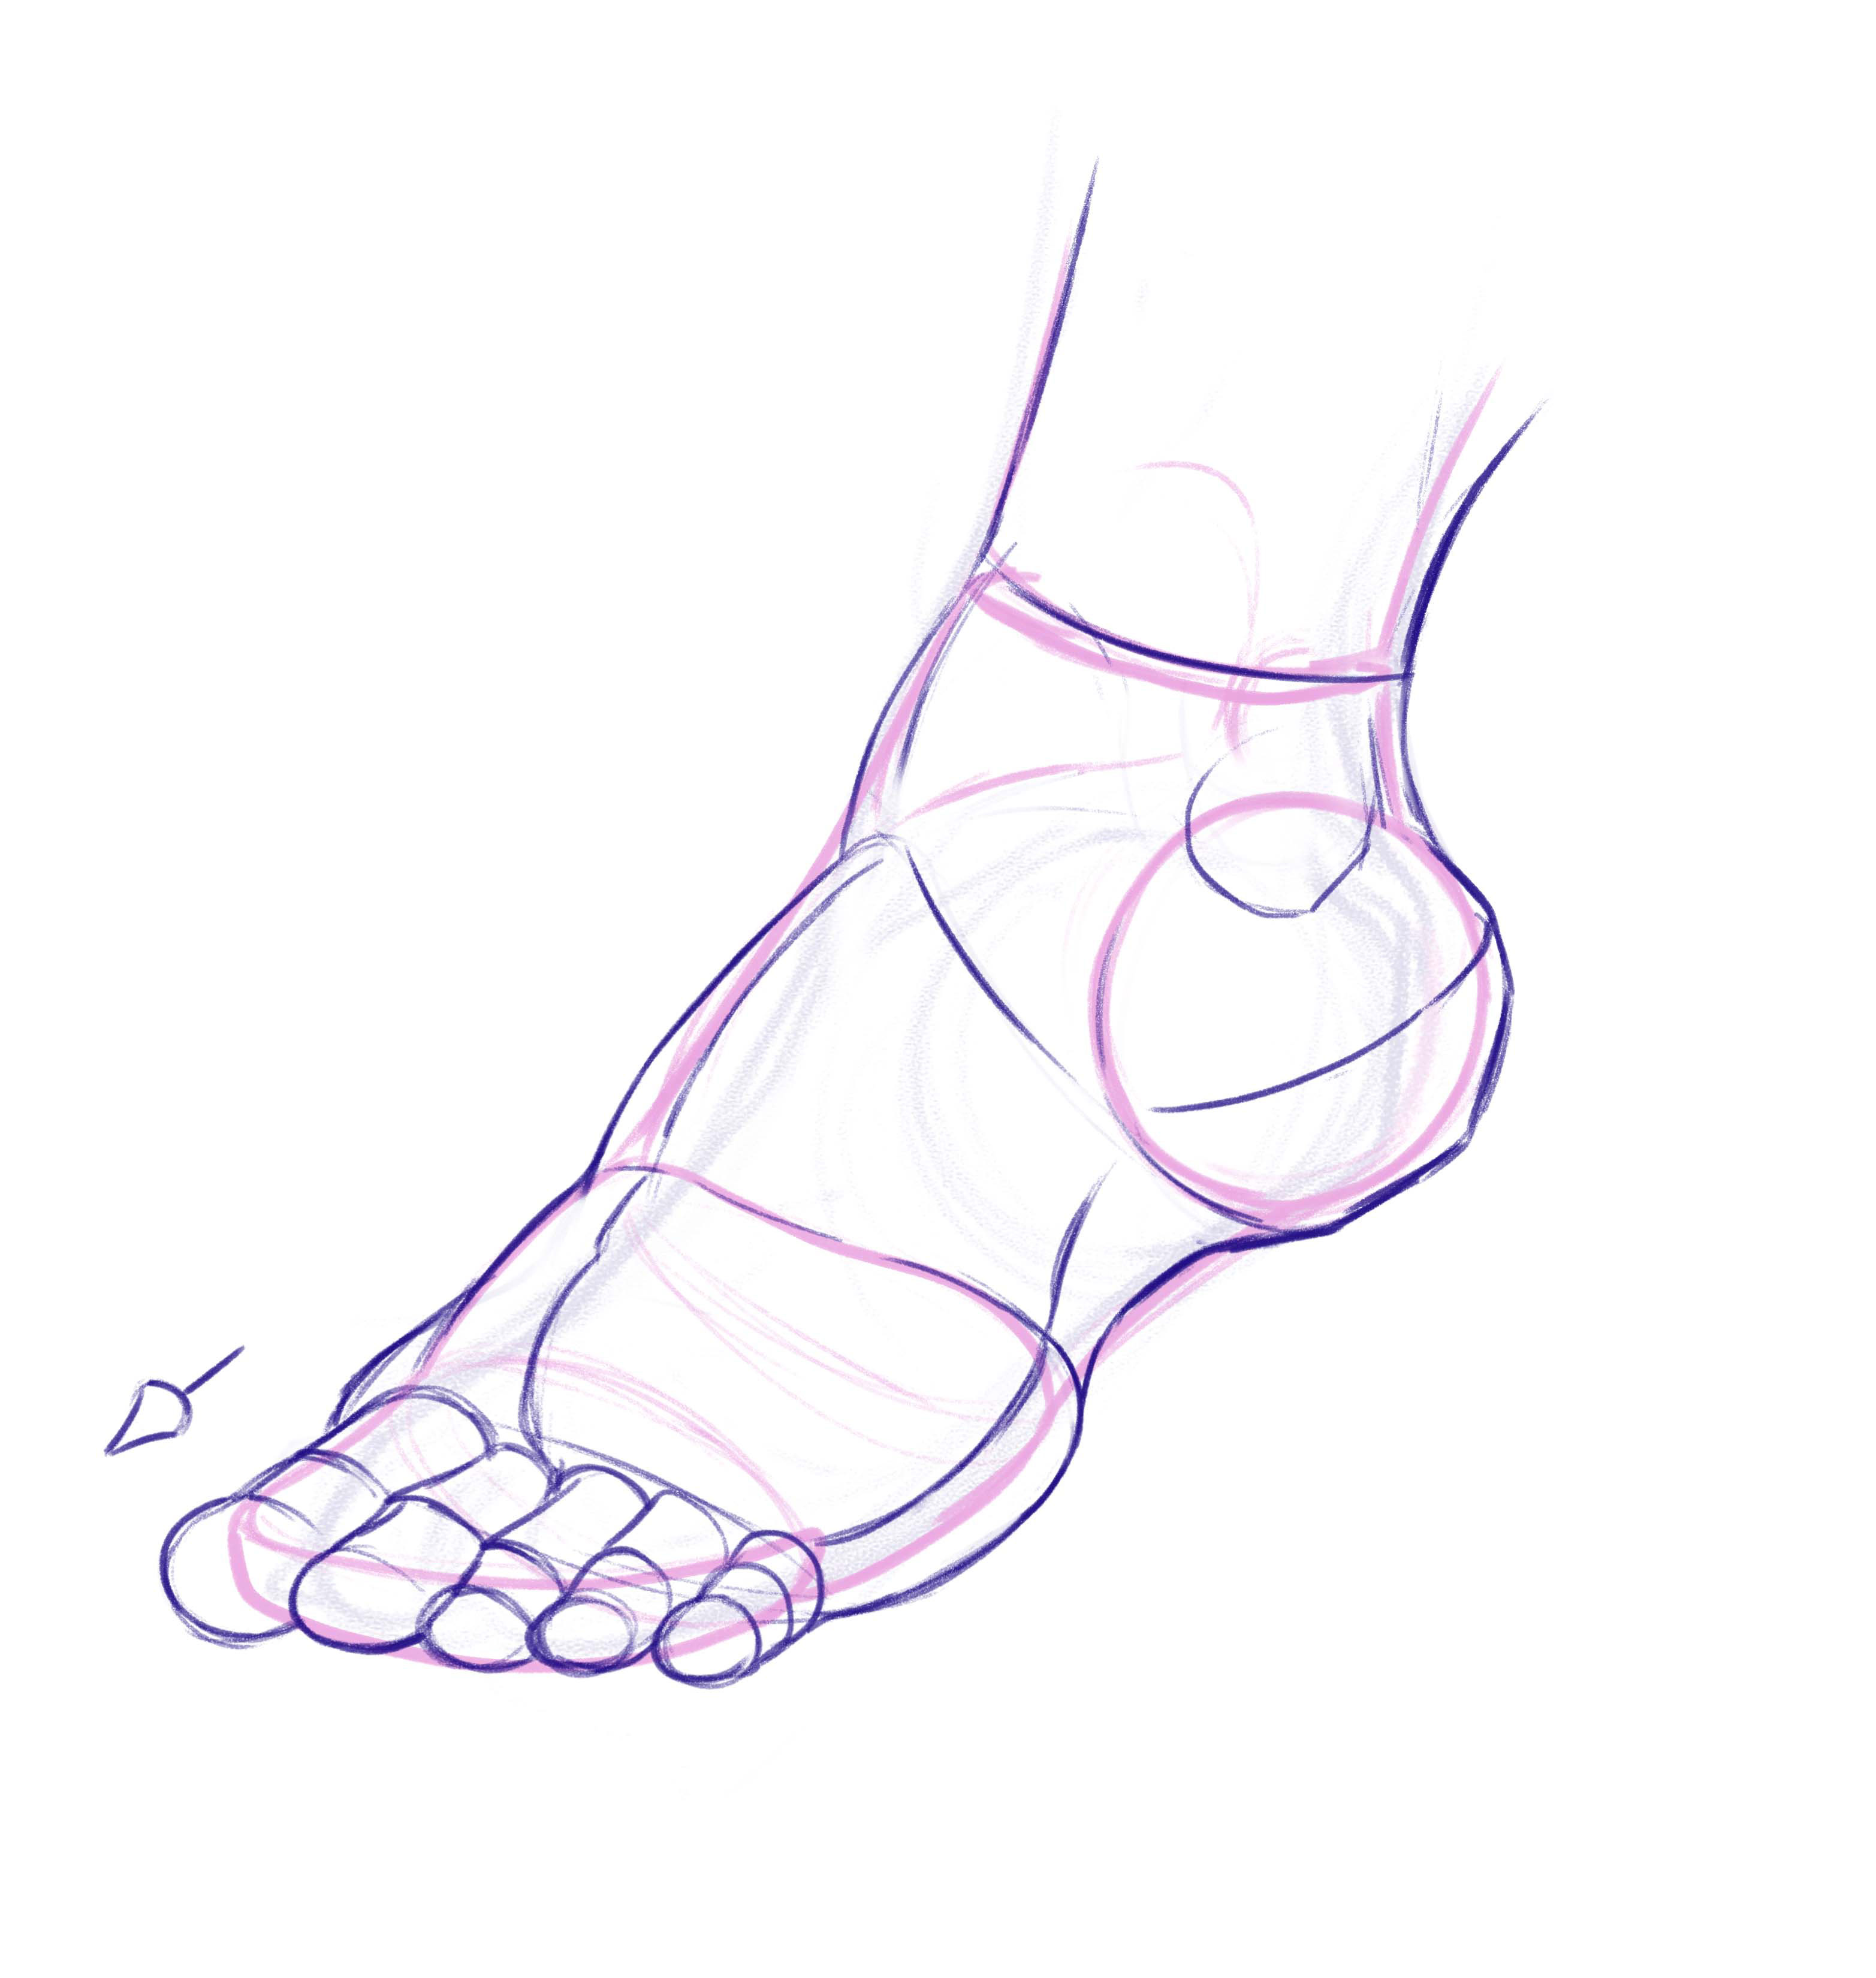
04. Planar View and Building the Smaller Forms
From our rough shape drawing, we can begin to build the foot as a 3D object. This step means we need to observe where the surfaces of the foot turn in 3D space. I am using planes, 3D objects like spheres, boxes and cylinders to help map out the forms of the foot. Keep drawing through forms here, you'll want to keep the structure you've built up throughout your drawing to imply volume.
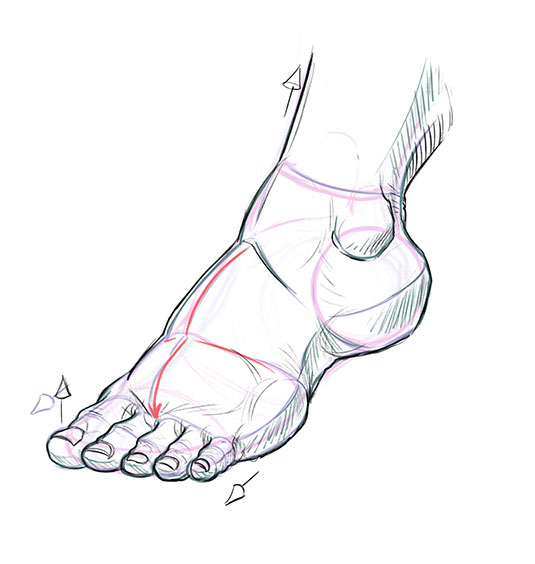
05. Use the Planar Shapes to find detail and volume.
Since I'm working digitally here, I will knock back the opacity of the planar drawing to begin to find the forms I see on my own foot. If you're working traditionally, simply begin to press harder onto your pencil.
Begin to soften those planes, find the volumes with light and slight rendering. You can see how I've adjusted the outline of the foot as I work. It's important to remember that you're not bound to sticking to your original gesture; it will evolve as you finish it.
06. Find the Features
Now we can start to make the foot look a little more natural. I find that leaving the construction lines, whether it is with pencil or digital tools, helps solidify my final drawing. Here we can add in toenails, which face up toward the sky and lay on top the toe plane.
Those earlier construction drawings where we found the shapes of the foot help me see where the volumes lie for my final sketch. It's important to keep the drawing fluid. As I draw, I try to keep my whole arm moving instead of just my wrist. It will help keep the drawing organic and loose.
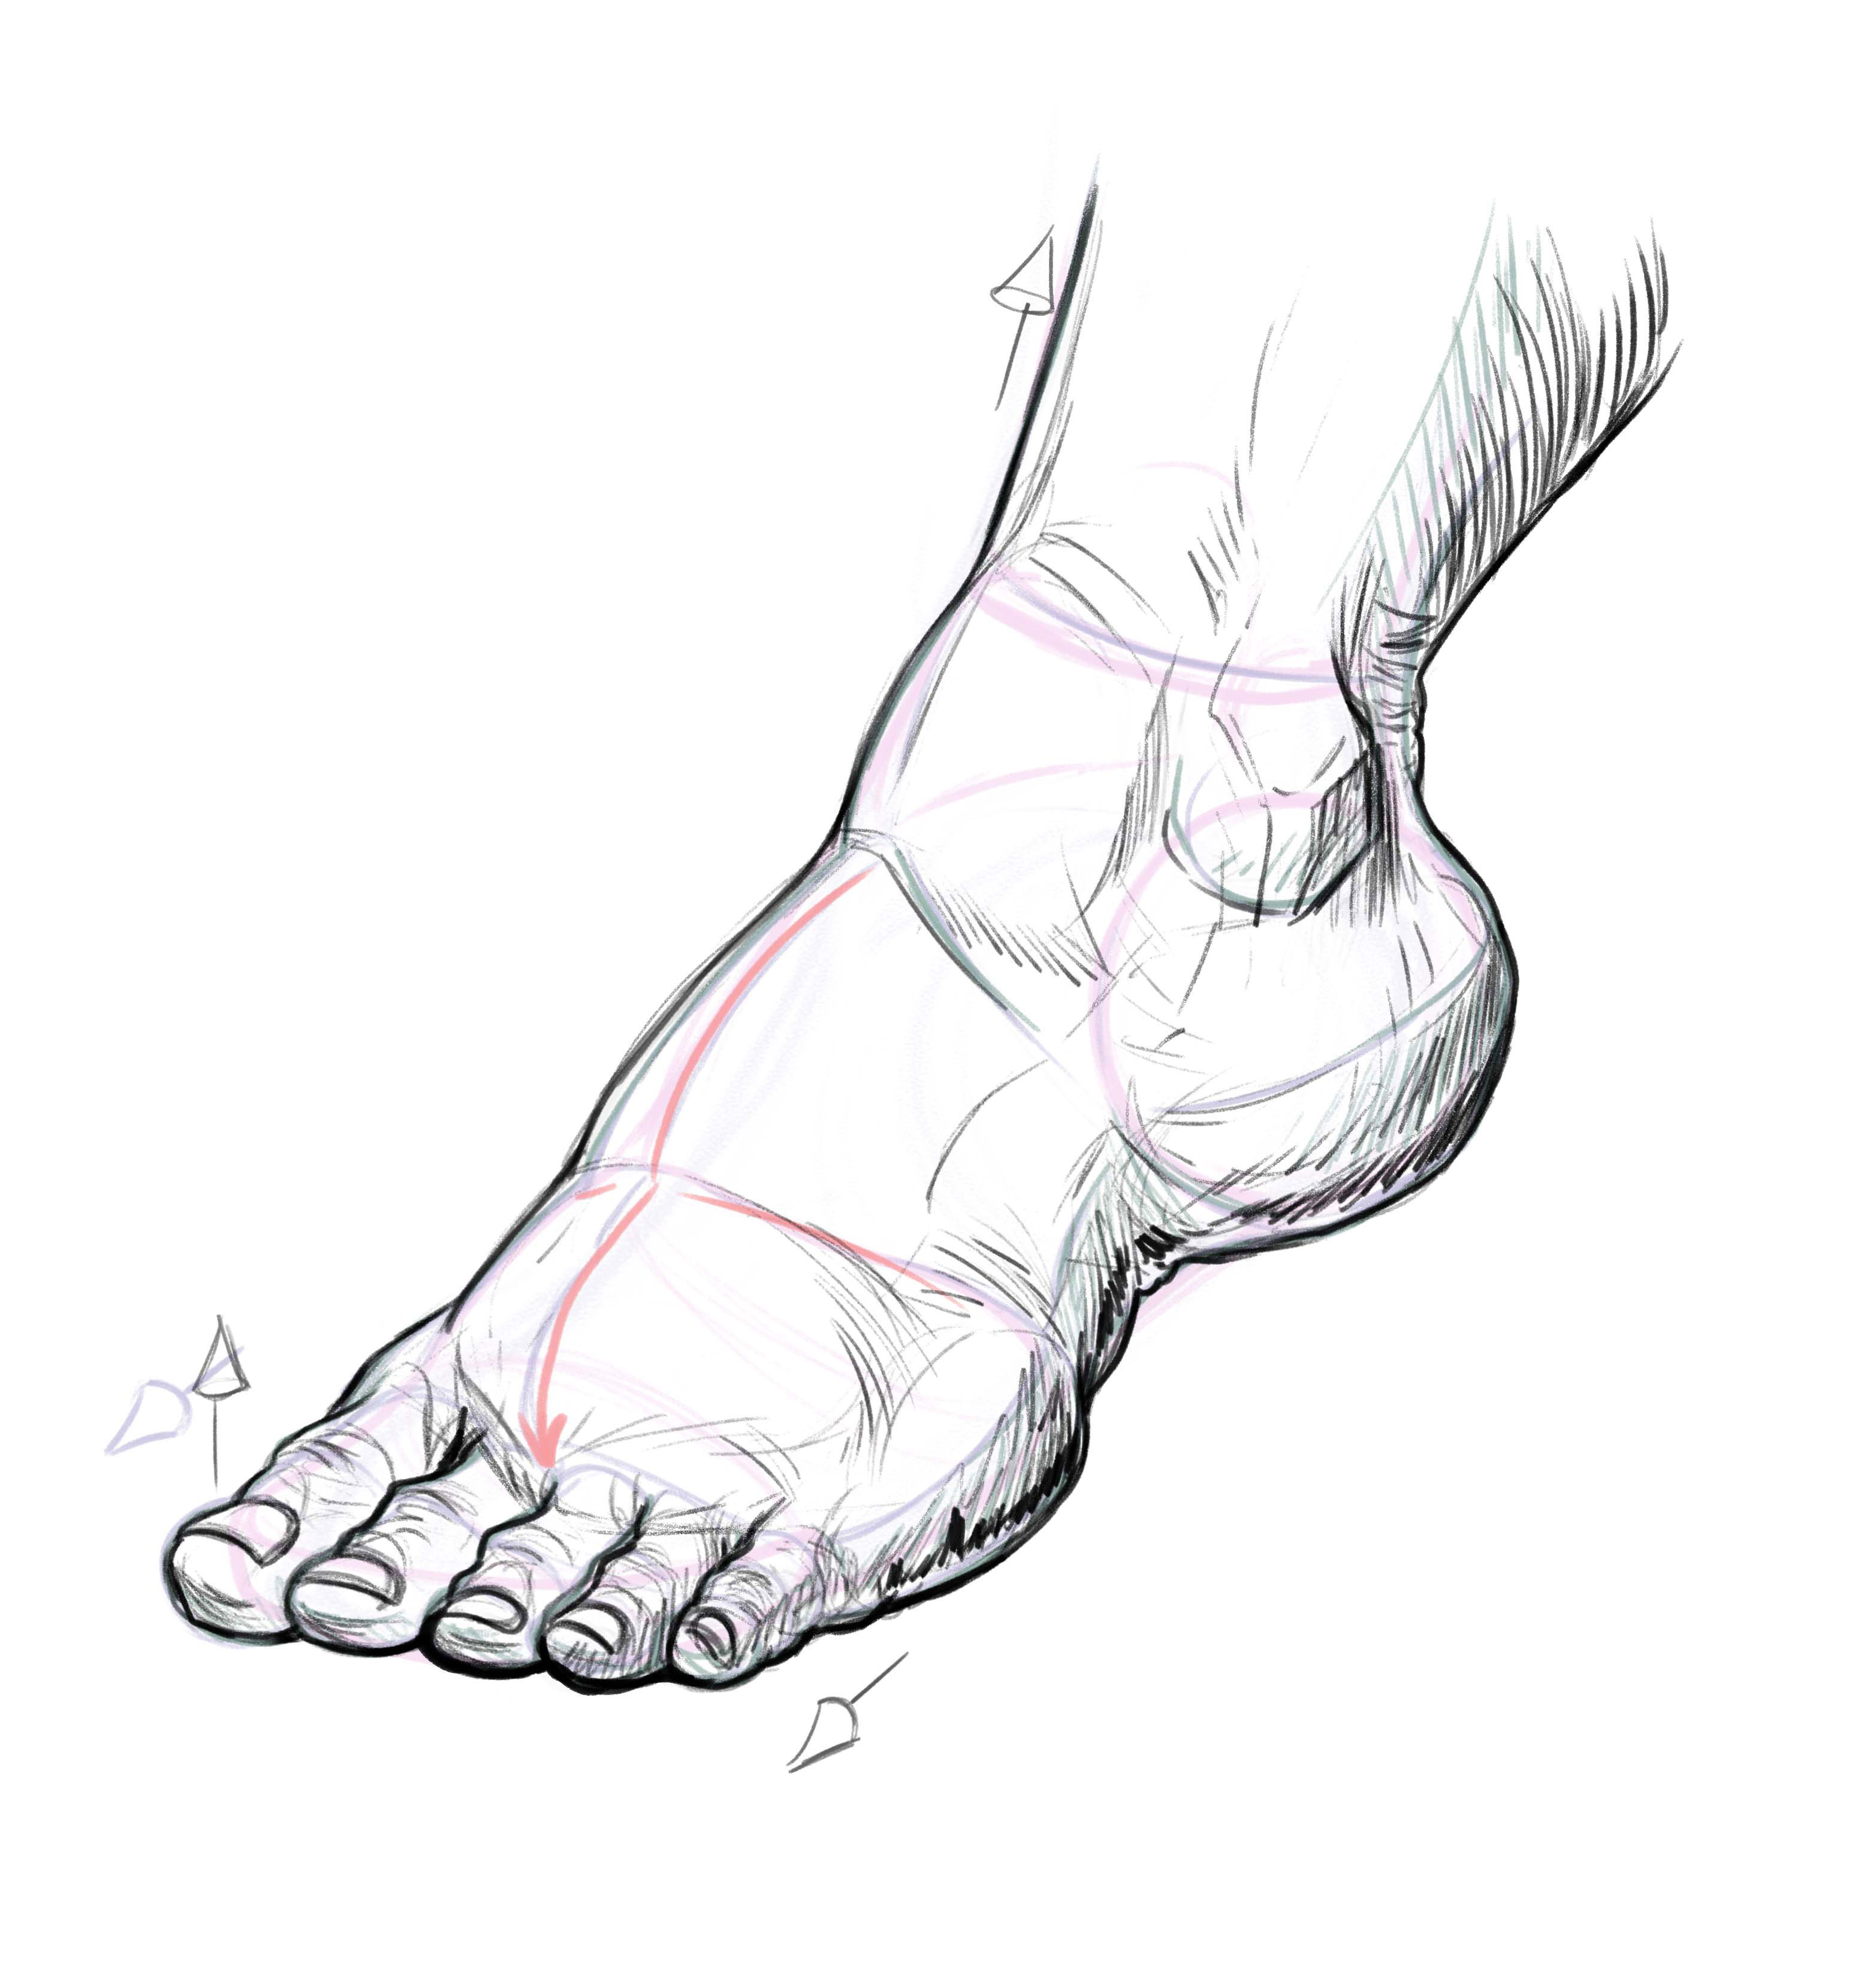
07. Adjust and Lie In Detail
Now, we can push back the first few layers, or switch to a heavier lead to begin to lay in those details. Here we can find wrinkles, adjust the angles of the toes, and find the volumes of the foot. I'm using a bit of a crosshatch technique here to indicate where forms are turning.
We can also use heavier line weight along the bottom of the foot to indicate shadow and weight. I can make the top of the foot feel more illuminated by keeping the line quality lighter and more delicate. Remember, the human body isn't perfect so imperfection is your friend here.
Brynn Metheney specializes in creature design, fantasy illustration and visual development for film, games and publishing. She lives and works in Oakland, California.
Related articles
How To Draw Feet Front View
Source: https://www.creativebloq.com/illustration/how-draw-feet-61620980
Posted by: hurdlatme1995.blogspot.com
0 Response to "How To Draw Feet Front View"
Post a Comment